Do you have old furniture that you've been thinking about getting rid of? Before you start thinking about the quickest route to your nearest Goodwill store, there are many ways of sprucing up furniture so it still looks good sitting in your home. Maybe you've even purchased some new night stands and now that you see them in your room, you can't stand the color. With a little bit of work, your re purposed items will have that trendy antique look. Because there are so many pieces of furniture that you can distress, let's use a dresser as an example for you to follow!
Remove the Knobs
Before you begin your D.I.Y. distress project, you'll want to remove all the knobs and pulls from your dresser drawers. This will help when you begin sanding so there are no obstructions in the way. When you're all done painting and distressing the dresser, you'll be able to put the knobs and pulls back on. You could even go get new ones for a fresh look. Whatever you decide, just make sure to take them off first and put them on last.
Sand and Clean
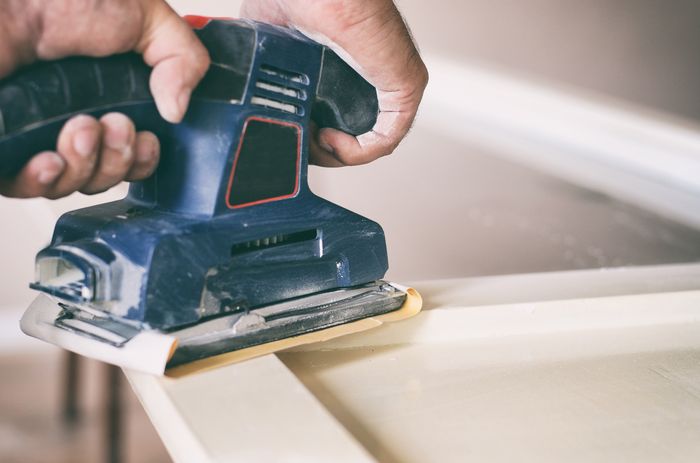
It doesn't matter what kind of sander you use, but a power sander will make your life a whole lot easier. You can still use sand paper and scrub the dresser by hand, but it will take longer and use more of your energy. Once you figure out your choice of sanding, you'll want to sand all the surfaces thoroughly. Use a sheet of sandpaper to get the corners and hard to reach places. Once you've completed that, you'll want to wash your dusty dresser down. You don't need anything fancy - water will do just fine.
Get Painting
You can paint your dresser whatever you want, but if you want that antique style, go with a white or off white color. Either make sure your paint has primer in it or first primer and then paint your dresser. This will ensure your paint will last longer as well as preserve it a little better than without primer. Use a roller or paint brush to start coloring your dresser. The better it's painted, the less of that vintage look you're going to get. Don't worry about being perfect when you paint it and if you happen to miss some spots, it will only add to the aesthetic.
Sand (again)
In order to give your old, new dresser a weathered look, you're going to want to sand it again. First wait for the paint to dry fully before jumping to this step. Use your power sander or sheet of sandpaper and start scrubbing the dresser. Be sure to scrub a little extra around the edges for a more worn look. Replace the knobs and pulls.
It's up to you if you want to apply a gloss or stain to the re purposed dresser - but it's not necessary. While fixing up an old piece of furniture can sometimes work out, other times the best thing to do with an old piece of furniture is to just replace it. When that time comes, we highly recommend checking out our Ashley Furniture. Visit us to discover all kinds of Ashley Furniture dressers, tables, night stands, and more that already have the look you want.